CentOS7: Update PHP version to the latest (v 7.4.6)

Why do I need to update the PHP version on my CentOS 7 server?

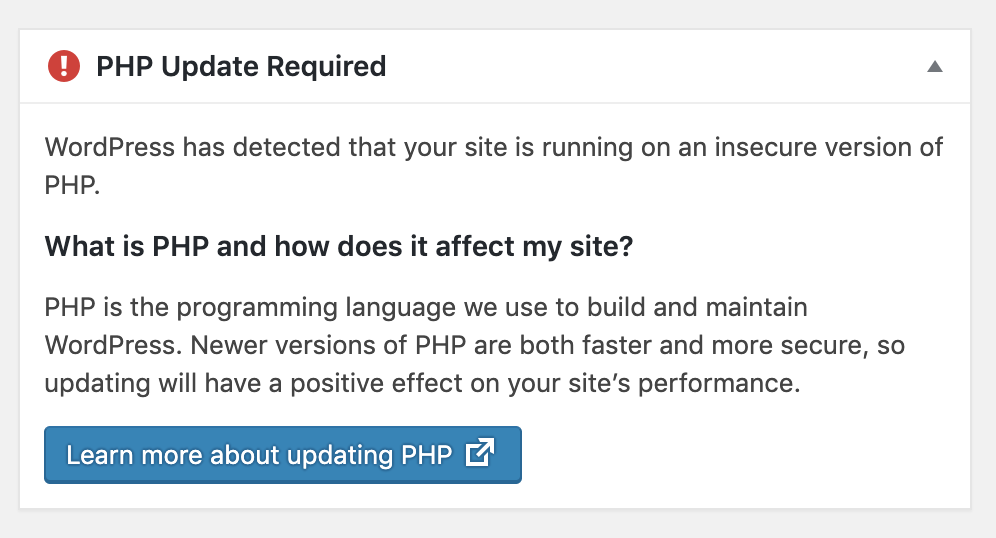
I set up this site quite a long time back and when I logged in to the admin panel I just noticed that still, I’m using some old version of WordPress. So I decided to update to the latest version. WordPress upgrade is seamless and within just a few clicks I was able to update to the latest version. When I’m navigated back to the dashboard I noticed an error message saying that I’m using an insecure version of PHP and warn me to update it.

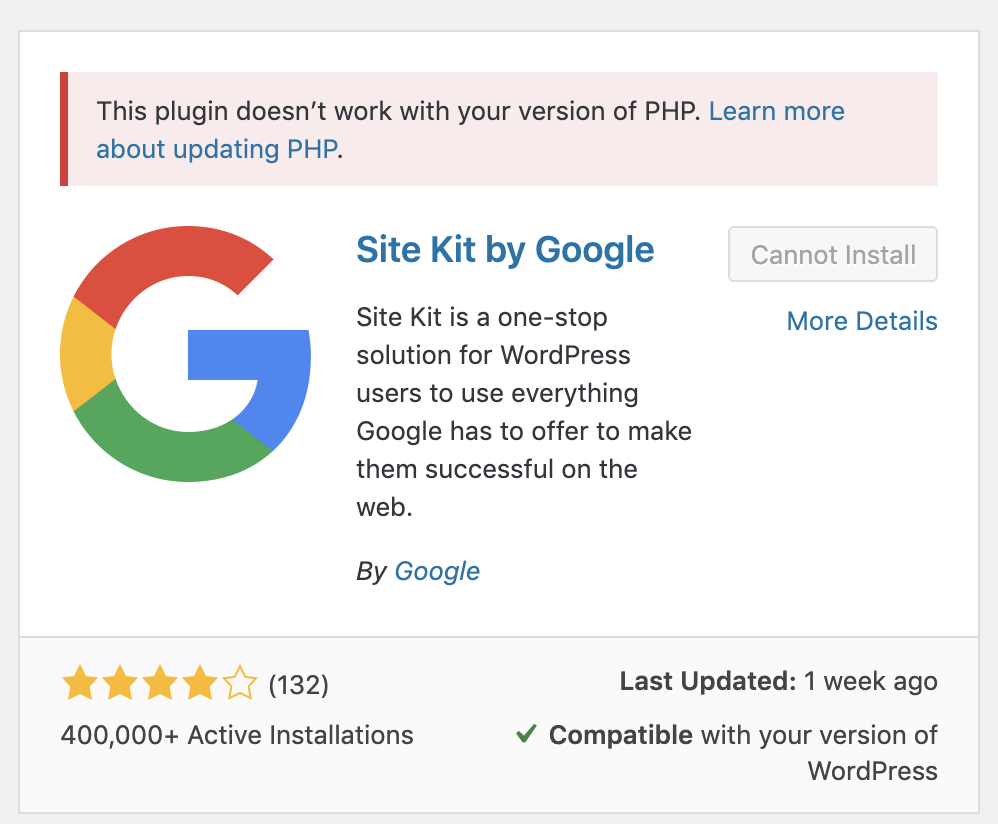
I thought “Will do it later”. Then I wanted to add some plugins to enhance the site a bit. When I’m going to install some plugins I noticed that my current PHP version is not supported for that plugin and won’t allow me to install.

So I had to move my lazy ass and upgrade the PHP version to the latest. It’s quite a long time that I’m away from PHP. I even don’t know what is the latest version. I just google it and got to know that it’s PHP 7.4.6 🙂


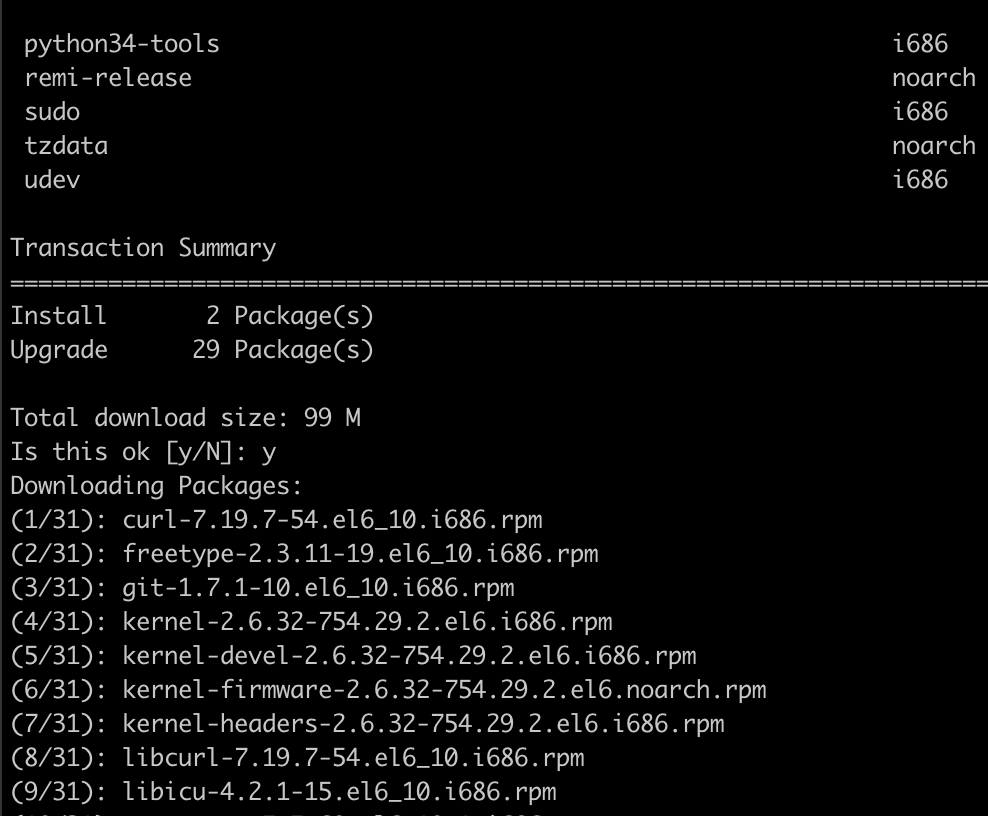
It’s CentOS 7 server and my first step is to just upgrade the available packages. So I run

sudo yum update

Then I started updating the PHP version to the latest. Please follow the below steps if you also want to update the PHP version of your CentOS 7 server as well.


How do I update the PHP version in CentOS 7 server?

1. First turn on the EPEL repo

sudo yum -y install epel-release

2. Activate remi-php74 repository

sudo yum-config-manager --enable remi-php74

3. Update yum repository

sudo yum update

4. Install PHP 7.4

sudo yum install php

5. Verification

php --version

Now you can see, the latest PHP version is installed in your server.

Happy Coding!

Get Enum from a String in flutter Dart

I wanted to get the correspondent enum value from a string field. Let’s say I have defined enum Fruit.

enum Fruit {apple, banana}

In the JSON payload of an API call, I’m getting string value of the enum. So I want to convert it to the correct enum value. This is how I did in my flutter application.

Fruit getFruitFromString(String fruit) {
  fruit = 'Fruit.$fruit';
  return Fruit.values.firstWhere((f)=> f.toString() == fruit, orElse: () => null);
}


Restore mongo collection with bson file

I’ve exported the database on the server using mongodump command and dump is stored in .bson file. I need to import that in my local server using mongorestore command.

It’s very simple to import a .bson file:

mongorestore -d db_name -c collection_name /path/file.bson

Incase only for a single collection. Try this:

mongorestore --drop -d db_name -c collection_name /path/file.bson

For restoring the complete folder exported by mongodump:

mongorestore -d db_name /path/

Fine-tune Android Studio with JVM options

android-studio-logo

As android developers we love Android Studio since it makes our lives much easier. If you are a developer form an eclipse (Hats off for the big boss) era I don’t want to say anything. You may feel Android Studio like heaven. But you should Fine-tune Android Studio properly to get the full benefit.

With the IntelliJ engine and gradle android development comes a long way. But you know, gradle is in fact quire resource hungry guy. Even for a simple “Hello World” application the daemon might use very well up to 150MB or even more. When it comes to multi-module production level application we should provide enough resources for gradle.

You may have already experienced slowness or unresponsiveness in Android Studio with the latest updates (Mostly 3.1.x). When the default memory allocation of Android Studio is not enough for your project you have to face this definitely. You can fine-tune Android Studio by allocating enough resources.

I’m going to show how to Fine-tune Android Studio by tweaking a few JVM options. You can get a smooth experience by following the below steps. What you need to do is create a studio.vmoptions file in the Android Studio settings folder. (For 64-bit version it’s  studio64.vmoptions )

Click Help > Edit Custom VM Options to open your studio.vmoptions file. (or you can create the file manually in side bin directory in  android studio installation directory e.g. : C:\Program Files\Android\Android Studio)

Then add below configuration to studio64.vmoptions file

  • Runs JVM in Server mode with more optimizations and resources usage
    It may slow down the startup, but if you usually keep IDE running for few hours/days
    JVM may profile and optimize IDE better. Feel free to remove this flag.
-server
  • Sets the initial size of the heap, the default value is 256m
-Xms1G
  • Max size of the memory allocation pool, the default value is 1280m
-Xmx2G
  • Sets the size of the allocated class metadata space that will trigger a GC the first time it is exceeded, the default max value is 350m
-XX:MetaspaceSize=512m

Now your studio64.vmoptions file should look like this.

-server
-Xms1G
-Xmx2G
-XX:MetaspaceSize=512m

Restart the Android Studio and feel the difference.

Happy coding 🙂

Credits: https://github.com/artem-zinnatullin/AndroidStudio-VM-Options

Excluding dependencies in Gradle

This is the way that use to exclude some transitive dependency.

compile('com.facebook.android:facebook-android-sdk:4.22.0') {
        exclude group: 'com.android.support', module: 'support-v4'
        exclude group: 'com.android.support', module: 'appcompat-v7'
}

When come to project type dependency this is the way.

compile (project(':library:view_pager_indicator')) {
        exclude group: 'com.android.support', module: 'support-v4'
        exclude group: 'com.android.support', module: 'appcompat-v7'
}

Keep in mind the additional brackets around  project(project(‘:library:view_pager_indicator’))


Android – Fix for Duplicate files copied in APK

If you are an android developer you may already familiar with this issue.

com.android.build.api.transform.TransformException: 
    com.android.builder.packaging.DuplicateFileException: 
    Duplicate files copied in APK *****************

Usually you’re getting this for some text files or license files like META-INF/notice.txt , META-INF/license.txt , META-INF/ASL2.0

In such scenarios we can exclude those files from APK packaging without any hesitation because we definitely know those will not affect our application functionality. We can do so using gradle packagingOptions .

packagingOptions {
        exclude 'META-INF/notice.txt'
        exclude 'META-INF/license.txt'
        exclude 'META-INF/ASL2.0'
        exclude 'META-INF/LICENSE'
        exclude 'META-INF/NOTICE'
    }

What can we do when we get like

com.android.build.api.transform.TransformException: 
    com.android.builder.packaging.DuplicateFileException: 
    Duplicate files copied in APK lib/arm64-v8a/librealm-jni.so

or

com.android.build.api.transform.TransformException: 
    com.android.builder.packaging.DuplicateFileException: 
    Duplicate files copied in APK lib/x86/librealm-jni.so

or

com.android.build.api.transform.TransformException: 
    com.android.builder.packaging.DuplicateFileException: 
    Duplicate files copied in APK lib/armeabi/librealm-jni.so

We cannot exclude those files since they required for app functionality. So we need another way to handle such scenarios.

We can use pickFirst in packagingOptions to avoid duplicate file copying to APK as below.

packagingOptions {
        exclude 'META-INF/notice.txt'
        exclude 'META-INF/license.txt'
        pickFirst 'lib/armeabi/librealm-jni.so'
        pickFirst 'lib/x86/librealm-jni.so'
        pickFirst 'lib/x86_64/librealm-jni.so'
        pickFirst 'lib/arm64-v8a/librealm-jni.so'
        pickFirst 'lib/armeabi-v7a/librealm-jni.so'
        pickFirst 'lib/mips/librealm-jni.so'
    }


Android Read More TextView, Easy Guide

In this article I’m going to show you how to add read more/ less component to android TextView. First, let’s see why the ‘read more component’  is very important for app users.

Why Read More TextView is important?

TextView is commonly using in Android applications to display texts. Text View can expand with the content and adjust it size to accommodate the full content. In some applications, the developer needs to limit the size of the text view due to the limited space for that content. 

One way is limiting the size of the text view by defining the maximum line count. But it clips the content and there are no options for the user to view the rest of the content. Some users may get disappointed because they cannot see the full content event they need to see.

Read more/ less in the android TextView is very important when the full content is not much important for all users but you need a way to allow users to see full content if needed. 

How to create Android Read More TextView?

There are a lot of ways to do it. You may able to find some guides that implement complex custom components to achieve this. But I’m going to show you the simplest way to implement Android Read More TextView. To achieve this I’m not going to do any modification to the TextView component. I’m just tweaking the content of the text view to achieving the Android Read More TextView effect.

Another advantage of this approach is you can limit the text by character length rather limiting by line count.

Please go through the below code first. I will explain to code below.

private fun addReadMore(text: String, textView: TextView) {
  val ss = SpannableString(text.substring(0, 270) + "... read more")
  val clickableSpan: ClickableSpan = object : ClickableSpan() {
    fun onClick(view: View) {
      addReadLess(text, textView)
    }

    fun updateDrawState(ds: TextPaint) {
      super.updateDrawState(ds)
      ds.setUnderlineText(false)
      if (Build.VERSION.SDK_INT >= Build.VERSION_CODES.M) {
        ds.setColor(getResources().getColor(R.color.color_primary, getTheme()))
      } else {
        ds.setColor(getResources().getColor(R.color.color_primary))
      }
    }
  }
  ss.setSpan(clickableSpan, ss.length - 10, ss.length, Spanned.SPAN_EXCLUSIVE_EXCLUSIVE)
  textView.setText(ss)
  textView.setMovementMethod(LinkMovementMethod.getInstance())
}

private fun addReadLess(text: String, textView: TextView) {
  val ss = SpannableString("$text read less")
  val clickableSpan: ClickableSpan = object : ClickableSpan() {
    fun onClick(view: View) {
      addReadMore(text, textView)
    }

    fun updateDrawState(ds: TextPaint) {
      super.updateDrawState(ds)
      ds.setUnderlineText(false)
      if (Build.VERSION.SDK_INT >= Build.VERSION_CODES.M) {
        ds.setColor(getResources().getColor(R.color.color_primary, getTheme()))
      } else {
        ds.setColor(getResources().getColor(R.color.color_primary))
      }
    }
  }
  ss.setSpan(clickableSpan, ss.length - 10, ss.length, Spanned.SPAN_EXCLUSIVE_EXCLUSIVE)
  textView.setText(ss)
  textView.setMovementMethod(LinkMovementMethod.getInstance())
 }
}

I added the java code snipet as well.

private void addReadMore(final String text, final TextView textView) {
  SpannableString ss = new SpannableString(text.substring(0, 270) + "... read more");
  ClickableSpan clickableSpan = new ClickableSpan() { 
    @Override
    public void onClick(View view) {
      addReadLess(text, textView);
    }
    @Override
    public void updateDrawState(TextPaint ds) {
      super.updateDrawState(ds);
      ds.setUnderlineText(false);
      if (Build.VERSION.SDK_INT >= Build.VERSION_CODES.M) {
        ds.setColor(getResources().getColor(R.color.color_primary, getTheme()));
      } else {
        ds.setColor(getResources().getColor(R.color.color_primary));
      }
    }
  };
  ss.setSpan(clickableSpan, ss.length() - 10, ss.length() , Spanned.SPAN_EXCLUSIVE_EXCLUSIVE);
  textView.setText(ss);
  textView.setMovementMethod(LinkMovementMethod.getInstance());
}

private void addReadLess(final String text, final TextView textView) {
  SpannableString ss = new SpannableString(text + " read less");
  ClickableSpan clickableSpan = new ClickableSpan() {
    @Override
    public void onClick(View view) {
      addReadMore(text, textView);
    }
    @Override
    public void updateDrawState(TextPaint ds) {
      super.updateDrawState(ds);
      ds.setUnderlineText(false);
      if (Build.VERSION.SDK_INT >= Build.VERSION_CODES.M) {
        ds.setColor(getResources().getColor(R.color.color_primary, getTheme()));
      } else {
        ds.setColor(getResources().getColor(R.color.color_primary));
      }
    }
  };
  ss.setSpan(clickableSpan, ss.length() - 10, ss.length() , Spanned.SPAN_EXCLUSIVE_EXCLUSIVE);
  textView.setText(ss);
  textView.setMovementMethod(LinkMovementMethod.getInstance());
}

How this works?

Here what we do is if the text length exceeds the character limit, split the text and append ClickableSpan with “read more” label. When the user tap on the read more, the Content of the text view switch to the full content and the CliclableSpan changed to “read less“. By tapping on the read less link users can switch to the collapsed state.

Code Sample:

Finally your text view looks like this.

android read more textview

If you experience any slowness in your Android Studio, this guide on “Fine-tune Android Studio with JVM options” may help you.

Happy Coding!

Is comment required?

Comments are used to describe the code for other users who will reuse or do changes on that code. After few time comments are also very useful even us to realize that what we done in there. So developers used to add comments in everywhere of the code. Is it the best practice?

Add comment isn’t a best practice always. It is better if we can write descriptive code rather than adding comment to describe what we do with the code. If a code can read and get what it done that kind of code says as a descriptive code. Let’s see some example.

// validate normal user exceed mounthly usage
if(user.type.aquals(NORMAL) && user.monthlyUsage > usageLimit)

or we can change the code as

if(user.isNormalUserExceedMounthlyUsage())

Which one is more descriptive? In second one it is easy to understand what it done even without a comments. Also it save the time that we wast for adding comments.

But some comments are important and we couldn’t miss. First one is legal comments that contains details about authorship and copyrights. Legal notes are generally added at the start of each source file.

For a example Oracle added Legal note like this in every sources of its products

/*
 * Copyright (c) 1997, 2006, Oracle and/or its affiliates. All rights reserved.
 * ORACLE PROPRIETARY/CONFIDENTIAL. Use is subject to license terms.
 */ 

Also there are some points that we should mention some useful information in comments.

//keep track of the current db connection status.
// (initial value is false to make sure the first SNMP trap is sent when sustem starts)
private boolean isDbConnectionDown = true;

In here we inform the user who refer the code that what do with this property and what can do with change it. At that point comment is very important and it added some value to the code.

Another useful comment is //TODO comments. TODO comment explains what are the features that should implemented but can’t done it now for some reason.

//todo need to check if a cycle has been missed previously and if it has been mist it has to be reloaded.
  public List loadAllUnfinishedCampaigns(String schedulerTypes, JobExecutionContext context) {

Comments can be use to amplify the important of something that can feel another user as useless.

// Important- Calender months are indexed from 0-11.
eventMap.put(monthField, String.valueOf(calendar.get(MONTH) + 1));

Javadocs are very important when you are writing public APIs

Rather than that most of the other comments aren’t added much sense on the user except repeating code content to the user. Let’s lock some example comments that we can eliminate from our codes.is

Try to avoid Separator comments because with modern IDEs no use of those separators.

// Actions ----------------------------------

Don’t use comments to keep in track with version histories and author’s details. Modern version controllers manage this task much better. So don’t pollute the code with those things.


Also don’t remain unwanted commented codes in your sources. New comers will not be remove those commented codes unless you remove it. It any code really unwanted delete it without comment it.

When a code is written in first time developer properly organize the code and properly add comments. There is no problem with the code. Problems began when we had to refactor the code urgently as usually happening. Developers quickly done the refactorings and done it in time but most probably they missed the comments to refactor. So there remains irrelevant comments with the code.

Comments are very important but unwanted comments are headache for developers. So think before adding a comment if it’s really useful and be sure it says that actually done.

Next developer only get that we remains on the code. If we didn’t do nicely it’ll be a huge mess for them.

Version file generation using Gradle

/**
* Provides the current lib version.
*
* @author PasanLive
*/
public final class Version {
   /**
   * Current lib version.
   */
   public static final String LIB_VERSION = "${version}";
}

Have you noticed the placeholder “${version}” that’ll be replaced with the actual version in the build process. Then new gradle task need to be defined. So we can define a class extending DefaultTask in our build.gradle script.


class GenerateVersionFileTask extends DefaultTask {
    def templateLocation
    def destination

    File getDestination() {
        project.file(destination)
    }

    File getTemplateFile() {
        project.file(templateLocation)
    }

    String getTemplateContent() {
        getTemplateFile().getText('UTF-8').replace("${version}", getVersion())
    }

    String getVersion() {
        project.version
    }

    @TaskAction
    def generate() {
        println 'Generating version file'
        def templateContent = getTemplateContent();
        def file = getDestination()
        file.parentFile.mkdirs()
        file.write(templateContent, 'UTF-8')
        println Version file generated'
    }
}