[MacOS] How to fix: checking for OpenSSL or libgcrypt… configure: error: one of OpenSSL or Gcrypt was not found

The error message checking for OpenSSL or libgcrypt... configure: error: one of OpenSSL or Gcrypt was not found indicates that the configure script for a software package you’re trying to build requires either OpenSSL or libgcrypt to be installed, but it couldn’t find either of them on your system.

Here’s how you can resolve this issue on macOS:

1. Install OpenSSL using Homebrew

Most macOS systems don’t come with OpenSSL installed by default, or they have an outdated version. The easiest way to install OpenSSL is via Homebrew, the popular package manager for macOS.

If you don’t have Homebrew installed, you can install it by running:

/bin/bash -c "$(curl -fsSL https://raw.githubusercontent.com/Homebrew/install/HEAD/install.sh)"

Once you have Homebrew installed, you can install OpenSSL:

brew install openssl

2. Point the build process to the OpenSSL library

After installing OpenSSL via Homebrew, the configure script may still not be able to find the OpenSSL libraries because they are installed in a non-default location (Homebrew typically installs OpenSSL in /opt/homebrew/opt/openssl@3 or a similar directory). You can set the environment variables LDFLAGS and CPPFLAGS to point to the OpenSSL installation.

Run the following commands in your terminal to specify the correct paths for OpenSSL:

export LDFLAGS="-L/opt/homebrew/opt/openssl@3/lib"
export CPPFLAGS="-I/opt/homebrew/opt/openssl@3/include"
export PKG_CONFIG_PATH="/opt/homebrew/opt/openssl@3/lib/pkgconfig"

Note: The path /opt/homebrew/opt/openssl@3/ is specific to OpenSSL 3.x. If you installed a different version, replace openssl@3 with the correct version.

3. Run the configure script again

After setting the environment variables, try running the configure script again:

./configure

This should now be able to find OpenSSL and proceed with the installation.

4. Install libgcrypt (Optional)

If the software you’re trying to build requires libgcrypt instead of OpenSSL, you can install it with Homebrew as well:

brew install libgcrypt

If you choose to install libgcrypt, you may need to configure the environment to point to it in a similar way as OpenSSL. For example:

export LDFLAGS="-L/opt/homebrew/opt/libgcrypt/lib"
export CPPFLAGS="-I/opt/homebrew/opt/libgcrypt/include"
export PKG_CONFIG_PATH="/opt/homebrew/opt/libgcrypt/lib/pkgconfig"

5. Re-run the configure script

After installing either OpenSSL or libgcrypt, and setting the correct environment variables, rerun the configure script again:

./configure

This should now successfully detect OpenSSL or libgcrypt, and you can proceed with the rest of the build process.


Troubleshooting:

  • Check installation directories: If you’re still getting errors, double-check the paths where Homebrew installs libraries. You can check the path of OpenSSL with: brew info openssl This will show you the installation path and other information.
  • Missing dependencies: If the error persists, make sure all required dependencies are installed using Homebrew.

By following these steps, you should be able to resolve the error and successfully configure the software.

Vocal health for singers – Infinivox a rising app to test by yourself

Vocal health is very important for singers, public speakers, standup comedians, lecturers, teacher or trainers. You all are highly depend on your voice. Healthy voice is the key to your success. That’s why you need to check your voice health regularly. But with your busy schedules you may not get enough time to meet your doctor regularly to check your vocal health.

Infinivox is a great innovative solution to check your voice health on your own. Vocal health is the most valuable thing for singers. If you are a singer this is the must-have app for you and you should use it daily.

So as a singer why should I use this app? What are the benefits that I’m getting through this app?

Key Vocal health measurements for singers

Infinivox provides you two major tests to measure the fitness of your voice.

1. Vocal Stamina

Maximum Phonation Time (MPT) is a simple test to find your ability to close and vibrate your vocal folds efficiently, all in tune with the breath. Generally, the longer your MPT means the grater your Vocal Stamina, which often equates to breath vocal quality and stamina.

Infinivox app allows you to do MPT daily basis and also it tracks the daily progress through graphs.

2. Pitch Glide

Everyone’s vocal range is different and day to day variations are to be expected. A Pitch Glide is one of the simplest ways to determine vocal range and the smoothness across that range. Trends in your range and smoothness overtime are good trackers of your vocal fitness.

Other than the available tests, infinivox app has a set of questionnaires to measure the vocal health. Based lon the questionnaires app calculate a score for your voice. So you can view the progress of your vocal helth by these scores.

App presents your test results and questionnaire results in the form of graphs that you can easily view the progress.

Infinivox app availabe in public beta for both iOS and Android users. You can enroll for the beta program for free through infinivox web site (https://infinivox.com) and experience the great features.

Please share with your friends and family as well and show them you care about their health.

If you are interested in photograpy these you may like these articles.

Low Key Portraits of Yash

Little Guy Living Under Leafs

Redirect default URL to custom URL in Firebase Hosting

Redirect default url to custom url in firebase hosting

Did you ever need to redirect the default URL of firebase hosting to a custom URL? You may ask me why do you need to do so. There are a couple of cases that we need to do so. I’m going to explain a scenario that I’ve needed to redirect the default URL to a custom URL in Firebase Hosting.

My client asked me to host his web site on Firebase Hosting and at that time he was not configured with the proper domain name. So I deployed his website and I gave him the deployed URL something like https://myapp.firebaseapp.com. So he was happy and shared that with few people that need that to test. A few days later he configured his proper domain name in firebase hosting and it is working perfectly. But the problem is the default URL that I have shared with him previously also working. He wanted to redirect that URL to the custom domain that he configured.


The problem here is firebase does not allow to cancel or redirect the default URL. So adding redirects in firebase.json won’t work. So we have to do it on our own. The simplest way that I realize is to do the redirection with JavaScript. So what you have to do is adding the below script to the bottom of your index.html page.

<script type="text/javascript">
        if (location.hostname.indexOf('custom.domain') === -1) {
            location.replace("https://custom.domain");
        }
</script>

What this script does is if the URL hostname is not equal to our custom domain the rewrite the URL to the custom domain. This method works for all the browsers that enabled the JavaScript.

Hope this will help you if you had to face the same situation as me. You can see more details here.

If you facing any performance issues with Android Studio this guide will help you to Fine-tune Android Studio with JVM options.

Happy Coding!

CentOS7: Update PHP version to the latest (v 7.4.6)

Why do I need to update the PHP version on my CentOS 7 server?

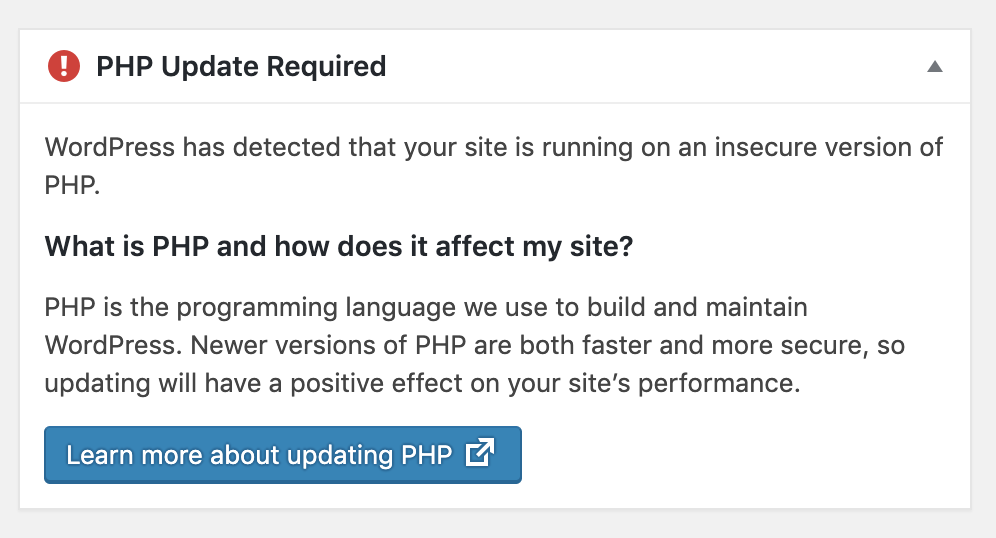
I set up this site quite a long time back and when I logged in to the admin panel I just noticed that still, I’m using some old version of WordPress. So I decided to update to the latest version. WordPress upgrade is seamless and within just a few clicks I was able to update to the latest version. When I’m navigated back to the dashboard I noticed an error message saying that I’m using an insecure version of PHP and warn me to update it.

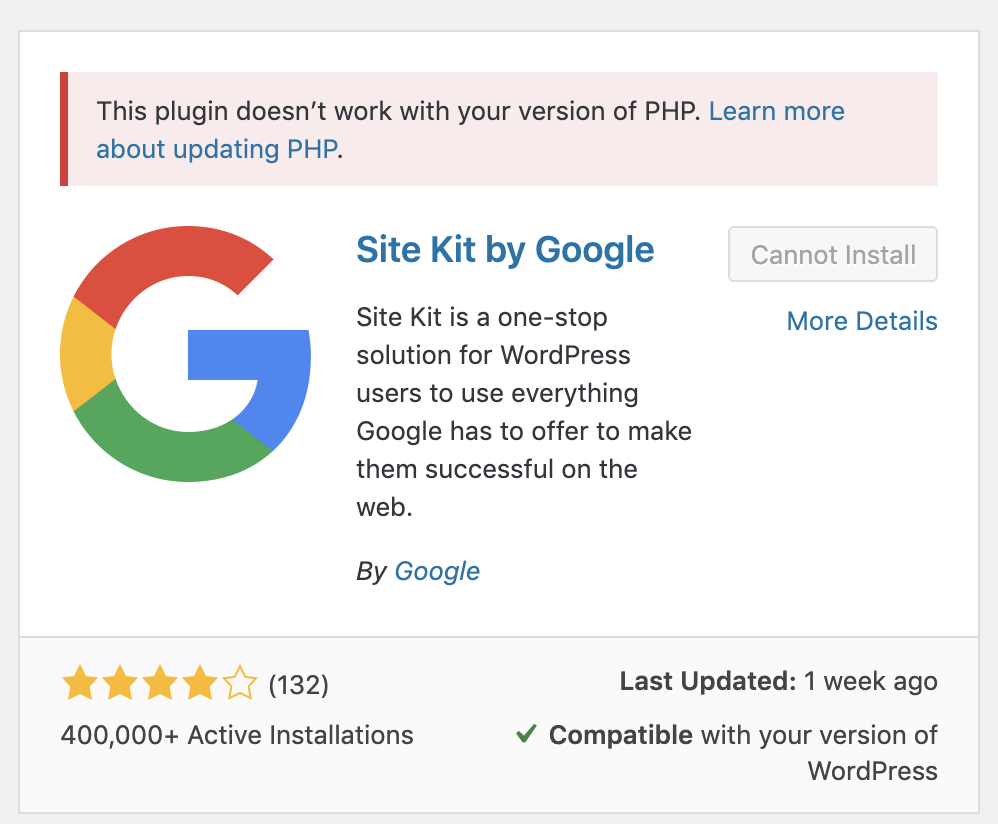
I thought “Will do it later”. Then I wanted to add some plugins to enhance the site a bit. When I’m going to install some plugins I noticed that my current PHP version is not supported for that plugin and won’t allow me to install.

So I had to move my lazy ass and upgrade the PHP version to the latest. It’s quite a long time that I’m away from PHP. I even don’t know what is the latest version. I just google it and got to know that it’s PHP 7.4.6 🙂


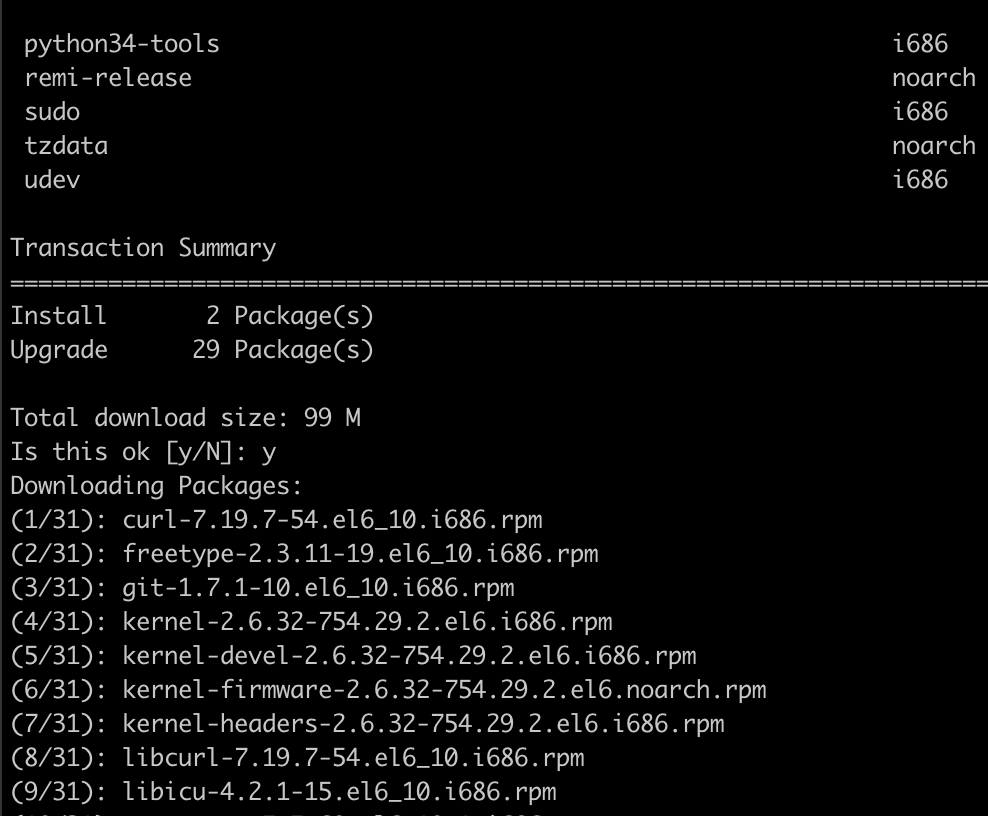
It’s CentOS 7 server and my first step is to just upgrade the available packages. So I run

sudo yum update

Then I started updating the PHP version to the latest. Please follow the below steps if you also want to update the PHP version of your CentOS 7 server as well.


How do I update the PHP version in CentOS 7 server?

1. First turn on the EPEL repo

sudo yum -y install epel-release

2. Activate remi-php74 repository

sudo yum-config-manager --enable remi-php74

3. Update yum repository

sudo yum update

4. Install PHP 7.4

sudo yum install php

5. Verification

php --version

Now you can see, the latest PHP version is installed in your server.

Happy Coding!

Get Enum from a String in flutter Dart

I wanted to get the correspondent enum value from a string field. Let’s say I have defined enum Fruit.

enum Fruit {apple, banana}

In the JSON payload of an API call, I’m getting string value of the enum. So I want to convert it to the correct enum value. This is how I did in my flutter application.

Fruit getFruitFromString(String fruit) {
  fruit = 'Fruit.$fruit';
  return Fruit.values.firstWhere((f)=> f.toString() == fruit, orElse: () => null);
}


Restore mongo collection with bson file

I’ve exported the database on the server using mongodump command and dump is stored in .bson file. I need to import that in my local server using mongorestore command.

It’s very simple to import a .bson file:

mongorestore -d db_name -c collection_name /path/file.bson

Incase only for a single collection. Try this:

mongorestore --drop -d db_name -c collection_name /path/file.bson

For restoring the complete folder exported by mongodump:

mongorestore -d db_name /path/

Fine-tune Android Studio with JVM options

android-studio-logo

As android developers we love Android Studio since it makes our lives much easier. If you are a developer form an eclipse (Hats off for the big boss) era I don’t want to say anything. You may feel Android Studio like heaven. But you should Fine-tune Android Studio properly to get the full benefit.

With the IntelliJ engine and gradle android development comes a long way. But you know, gradle is in fact quire resource hungry guy. Even for a simple “Hello World” application the daemon might use very well up to 150MB or even more. When it comes to multi-module production level application we should provide enough resources for gradle.

You may have already experienced slowness or unresponsiveness in Android Studio with the latest updates (Mostly 3.1.x). When the default memory allocation of Android Studio is not enough for your project you have to face this definitely. You can fine-tune Android Studio by allocating enough resources.

I’m going to show how to Fine-tune Android Studio by tweaking a few JVM options. You can get a smooth experience by following the below steps. What you need to do is create a studio.vmoptions file in the Android Studio settings folder. (For 64-bit version it’s  studio64.vmoptions )

Click Help > Edit Custom VM Options to open your studio.vmoptions file. (or you can create the file manually in side bin directory in  android studio installation directory e.g. : C:\Program Files\Android\Android Studio)

Then add below configuration to studio64.vmoptions file

  • Runs JVM in Server mode with more optimizations and resources usage
    It may slow down the startup, but if you usually keep IDE running for few hours/days
    JVM may profile and optimize IDE better. Feel free to remove this flag.
-server
  • Sets the initial size of the heap, the default value is 256m
-Xms1G
  • Max size of the memory allocation pool, the default value is 1280m
-Xmx2G
  • Sets the size of the allocated class metadata space that will trigger a GC the first time it is exceeded, the default max value is 350m
-XX:MetaspaceSize=512m

Now your studio64.vmoptions file should look like this.

-server
-Xms1G
-Xmx2G
-XX:MetaspaceSize=512m

Restart the Android Studio and feel the difference.

Happy coding 🙂

Credits: https://github.com/artem-zinnatullin/AndroidStudio-VM-Options

Excluding dependencies in Gradle

This is the way that use to exclude some transitive dependency.

compile('com.facebook.android:facebook-android-sdk:4.22.0') {
        exclude group: 'com.android.support', module: 'support-v4'
        exclude group: 'com.android.support', module: 'appcompat-v7'
}

When come to project type dependency this is the way.

compile (project(':library:view_pager_indicator')) {
        exclude group: 'com.android.support', module: 'support-v4'
        exclude group: 'com.android.support', module: 'appcompat-v7'
}

Keep in mind the additional brackets around  project(project(‘:library:view_pager_indicator’))


Android – Fix for Duplicate files copied in APK

If you are an android developer you may already familiar with this issue.

com.android.build.api.transform.TransformException: 
    com.android.builder.packaging.DuplicateFileException: 
    Duplicate files copied in APK *****************

Usually you’re getting this for some text files or license files like META-INF/notice.txt , META-INF/license.txt , META-INF/ASL2.0

In such scenarios we can exclude those files from APK packaging without any hesitation because we definitely know those will not affect our application functionality. We can do so using gradle packagingOptions .

packagingOptions {
        exclude 'META-INF/notice.txt'
        exclude 'META-INF/license.txt'
        exclude 'META-INF/ASL2.0'
        exclude 'META-INF/LICENSE'
        exclude 'META-INF/NOTICE'
    }

What can we do when we get like

com.android.build.api.transform.TransformException: 
    com.android.builder.packaging.DuplicateFileException: 
    Duplicate files copied in APK lib/arm64-v8a/librealm-jni.so

or

com.android.build.api.transform.TransformException: 
    com.android.builder.packaging.DuplicateFileException: 
    Duplicate files copied in APK lib/x86/librealm-jni.so

or

com.android.build.api.transform.TransformException: 
    com.android.builder.packaging.DuplicateFileException: 
    Duplicate files copied in APK lib/armeabi/librealm-jni.so

We cannot exclude those files since they required for app functionality. So we need another way to handle such scenarios.

We can use pickFirst in packagingOptions to avoid duplicate file copying to APK as below.

packagingOptions {
        exclude 'META-INF/notice.txt'
        exclude 'META-INF/license.txt'
        pickFirst 'lib/armeabi/librealm-jni.so'
        pickFirst 'lib/x86/librealm-jni.so'
        pickFirst 'lib/x86_64/librealm-jni.so'
        pickFirst 'lib/arm64-v8a/librealm-jni.so'
        pickFirst 'lib/armeabi-v7a/librealm-jni.so'
        pickFirst 'lib/mips/librealm-jni.so'
    }


Android Read More TextView, Easy Guide

In this article I’m going to show you how to add read more/ less component to android TextView. First, let’s see why the ‘read more component’  is very important for app users.

Why Read More TextView is important?

TextView is commonly using in Android applications to display texts. Text View can expand with the content and adjust it size to accommodate the full content. In some applications, the developer needs to limit the size of the text view due to the limited space for that content. 

One way is limiting the size of the text view by defining the maximum line count. But it clips the content and there are no options for the user to view the rest of the content. Some users may get disappointed because they cannot see the full content event they need to see.

Read more/ less in the android TextView is very important when the full content is not much important for all users but you need a way to allow users to see full content if needed. 

How to create Android Read More TextView?

There are a lot of ways to do it. You may able to find some guides that implement complex custom components to achieve this. But I’m going to show you the simplest way to implement Android Read More TextView. To achieve this I’m not going to do any modification to the TextView component. I’m just tweaking the content of the text view to achieving the Android Read More TextView effect.

Another advantage of this approach is you can limit the text by character length rather limiting by line count.

Please go through the below code first. I will explain to code below.

private fun addReadMore(text: String, textView: TextView) {
  val ss = SpannableString(text.substring(0, 270) + "... read more")
  val clickableSpan: ClickableSpan = object : ClickableSpan() {
    fun onClick(view: View) {
      addReadLess(text, textView)
    }

    fun updateDrawState(ds: TextPaint) {
      super.updateDrawState(ds)
      ds.setUnderlineText(false)
      if (Build.VERSION.SDK_INT >= Build.VERSION_CODES.M) {
        ds.setColor(getResources().getColor(R.color.color_primary, getTheme()))
      } else {
        ds.setColor(getResources().getColor(R.color.color_primary))
      }
    }
  }
  ss.setSpan(clickableSpan, ss.length - 10, ss.length, Spanned.SPAN_EXCLUSIVE_EXCLUSIVE)
  textView.setText(ss)
  textView.setMovementMethod(LinkMovementMethod.getInstance())
}

private fun addReadLess(text: String, textView: TextView) {
  val ss = SpannableString("$text read less")
  val clickableSpan: ClickableSpan = object : ClickableSpan() {
    fun onClick(view: View) {
      addReadMore(text, textView)
    }

    fun updateDrawState(ds: TextPaint) {
      super.updateDrawState(ds)
      ds.setUnderlineText(false)
      if (Build.VERSION.SDK_INT >= Build.VERSION_CODES.M) {
        ds.setColor(getResources().getColor(R.color.color_primary, getTheme()))
      } else {
        ds.setColor(getResources().getColor(R.color.color_primary))
      }
    }
  }
  ss.setSpan(clickableSpan, ss.length - 10, ss.length, Spanned.SPAN_EXCLUSIVE_EXCLUSIVE)
  textView.setText(ss)
  textView.setMovementMethod(LinkMovementMethod.getInstance())
 }
}

I added the java code snipet as well.

private void addReadMore(final String text, final TextView textView) {
  SpannableString ss = new SpannableString(text.substring(0, 270) + "... read more");
  ClickableSpan clickableSpan = new ClickableSpan() { 
    @Override
    public void onClick(View view) {
      addReadLess(text, textView);
    }
    @Override
    public void updateDrawState(TextPaint ds) {
      super.updateDrawState(ds);
      ds.setUnderlineText(false);
      if (Build.VERSION.SDK_INT >= Build.VERSION_CODES.M) {
        ds.setColor(getResources().getColor(R.color.color_primary, getTheme()));
      } else {
        ds.setColor(getResources().getColor(R.color.color_primary));
      }
    }
  };
  ss.setSpan(clickableSpan, ss.length() - 10, ss.length() , Spanned.SPAN_EXCLUSIVE_EXCLUSIVE);
  textView.setText(ss);
  textView.setMovementMethod(LinkMovementMethod.getInstance());
}

private void addReadLess(final String text, final TextView textView) {
  SpannableString ss = new SpannableString(text + " read less");
  ClickableSpan clickableSpan = new ClickableSpan() {
    @Override
    public void onClick(View view) {
      addReadMore(text, textView);
    }
    @Override
    public void updateDrawState(TextPaint ds) {
      super.updateDrawState(ds);
      ds.setUnderlineText(false);
      if (Build.VERSION.SDK_INT >= Build.VERSION_CODES.M) {
        ds.setColor(getResources().getColor(R.color.color_primary, getTheme()));
      } else {
        ds.setColor(getResources().getColor(R.color.color_primary));
      }
    }
  };
  ss.setSpan(clickableSpan, ss.length() - 10, ss.length() , Spanned.SPAN_EXCLUSIVE_EXCLUSIVE);
  textView.setText(ss);
  textView.setMovementMethod(LinkMovementMethod.getInstance());
}

How this works?

Here what we do is if the text length exceeds the character limit, split the text and append ClickableSpan with “read more” label. When the user tap on the read more, the Content of the text view switch to the full content and the CliclableSpan changed to “read less“. By tapping on the read less link users can switch to the collapsed state.

Code Sample:

Finally your text view looks like this.

android read more textview

If you experience any slowness in your Android Studio, this guide on “Fine-tune Android Studio with JVM options” may help you.

Happy Coding!